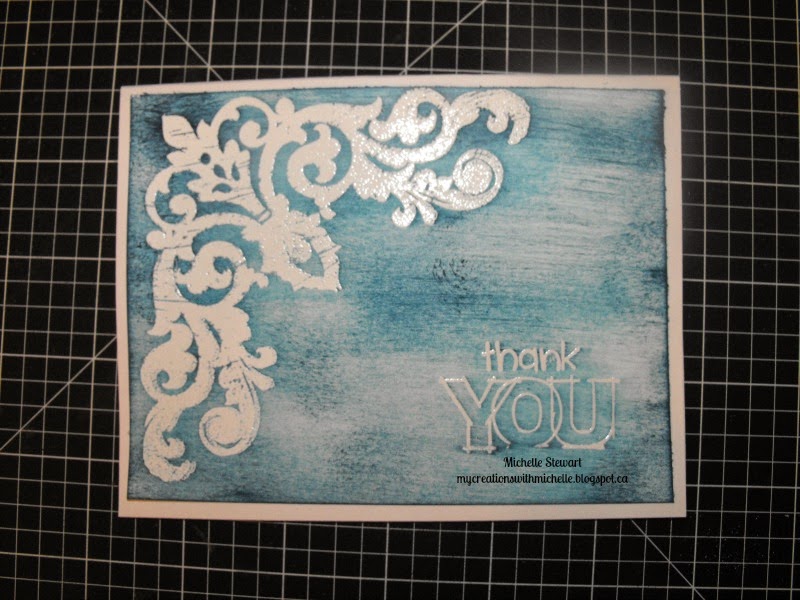
For my project I decided I would teach you how to create a card using the resist embossing technique.
First choose you stamp, cardstock, and embossing powder. Then you want to prepare your cardstock by precutting it to the size you want it to be, in this case it is 4"x 5 1/4". I have this little bag that I filled with baby powder and I dust that over the cardstock to prevent the embossing powder from sticking where I don't want it to be.
Then using Versamark Ink I inked up my stamp and stamped it onto the cardstock. Because Versamark Ink is clear you won't see it in the photo.
I then used Clear Detail Embossing powder so that the image and sentiment will remain white.
It is very hard to see the embossing powder, but believe me it's there. I placed a sheet of white printer paper under my project so that I can use that to pour the unused powder back into the container. Next choose your ink colour. I choose Pacifica.
I inked up my sponge and rubbed over top of the whole piece of cardstock. Now do not be alarmed when you see that the embossed image takes on ink, all you need to do is have a lightly damp cloth or tissue on hand and wipe off the ink. All done. Now apply your cardstock to your cardbase and you are done.
Now keep hopping as we have lots of amazing techniques to share with you. Your next stop is Chris and she is playing with reinkers.


I love this technique. your instructions were awesome. I also liked how you applied the ink in a streaking way. looks very strong and bold to me.
ReplyDeleteGreat technique, Michelle
ReplyDelete